There are times that you turn on your computer and it won’t simply boot into macOS. I’m not talking about when the computer won’t turn on at all. What I’m talking about is when you hear the chime and see the Apple logo but it takes forever to load macOS.
The reasons may vary on why this might happen but the solution is almost the same in all cases except for GPU related issues. It might be a faulty HDD or SSD or corrupted filesystem.
In case of a faulty disk drive you need to replace it and install/restore macOS and applications again and when you are dealing with a damaged file system all you need to do is to reinstall macOS and applications or restore your data from backup.
If you’ve been a Mac user for a long time you should be familiar with Time Machine and the wonders it can do but it doesn’t necessarily mean that you are using it to keep regular backups of your Mac so the best way to prevent data loss is to have a backup plan and in my humble opinion the best way to backup and restore your data is using Time Machine. There are plenty of other tools to clone a disk drive and restore from it when you need to but I won’t be getting into them in this guide.
Using Time Machine to backup and restore your data:
There are many cases that you can easily restore a simple file or bunch of folders using Time Machine from within macOS without even having to restore the whole system or you can completely restore your macOS and data using Time Machine backups.
If you have ever used Time Machine you already know how easy and powerful it is and how many times it can save you a lot of time and headaches to restore your files.
All you need to do is to is to have an external disk with enough space and format the disk with Disk Utility and set it up for TimeMachine to use and that’s it. As long as the external disk is connected to your Mac it will automatically backup your data every 30 minutes or so.
In case if your computer doesn’t boot into macOS you can attach the Time Machine disk and boot from macOS USB Installer Disk, Internet Recovery or the Recovery Partition it and restore your data in few simple steps.
Preparing the Time Machine backup disk:
Open Disk Utility from Applications\Utilities folder or open Finder and press Command+Shift+U to open the the Utilities folder.
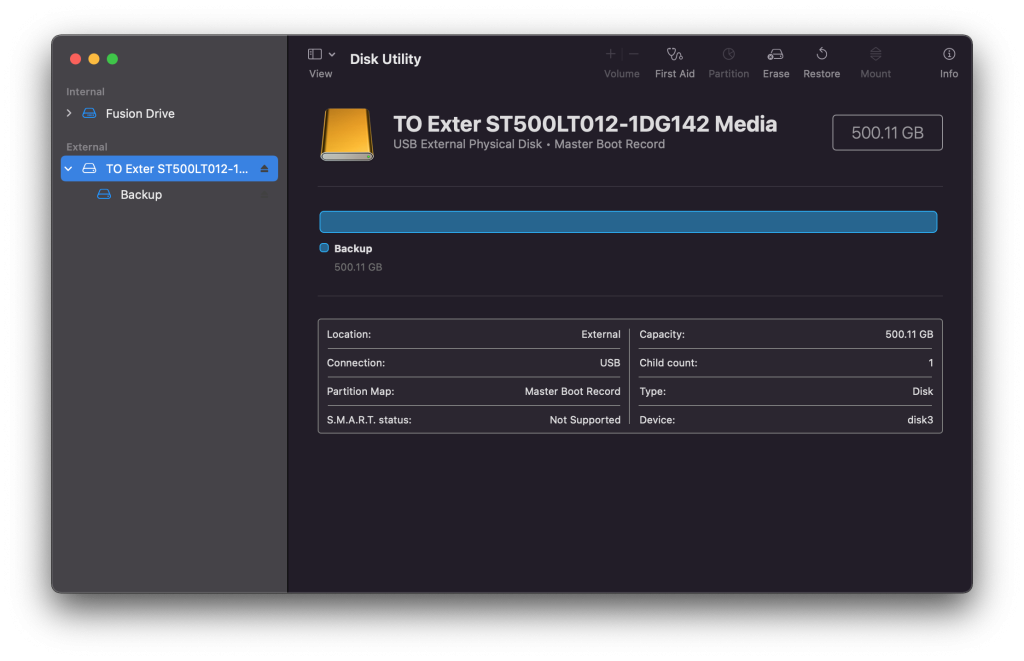
Select the External Disk you want to use for Time Machine and click on Erase.
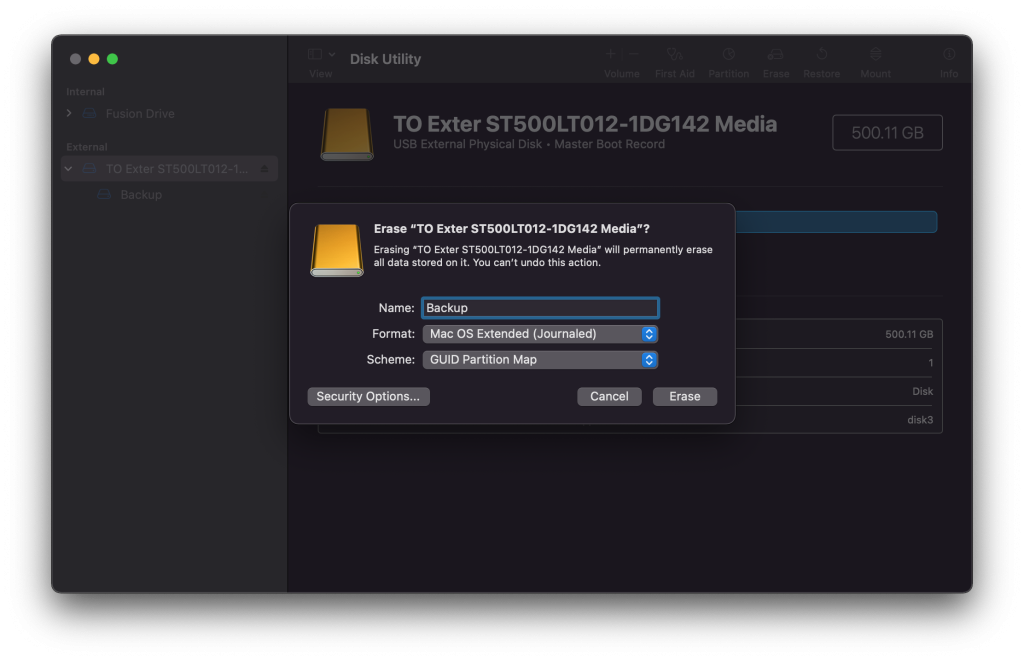
Use any name you like for your hard disk and make sure the format is set to Mac OS Extended (Journaled) and the Scheme is set to GUID Partition Map.

Once the process is done your hard disk is ready for setting it up for Time Machine to use.
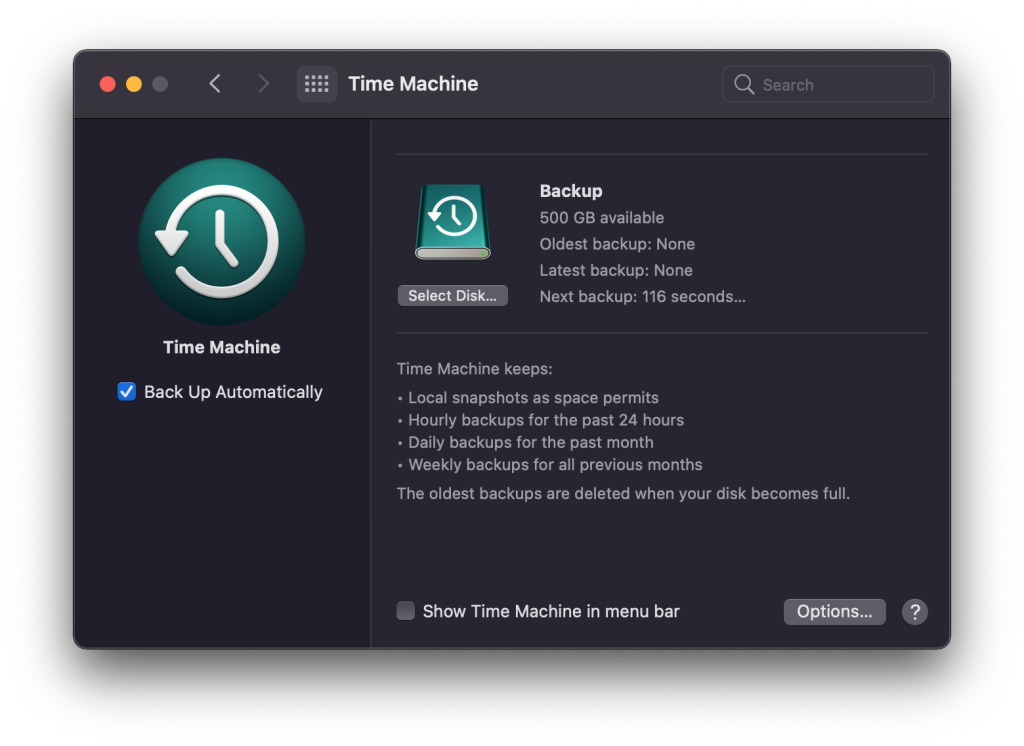
Now open System Preferences and select Time Machine.
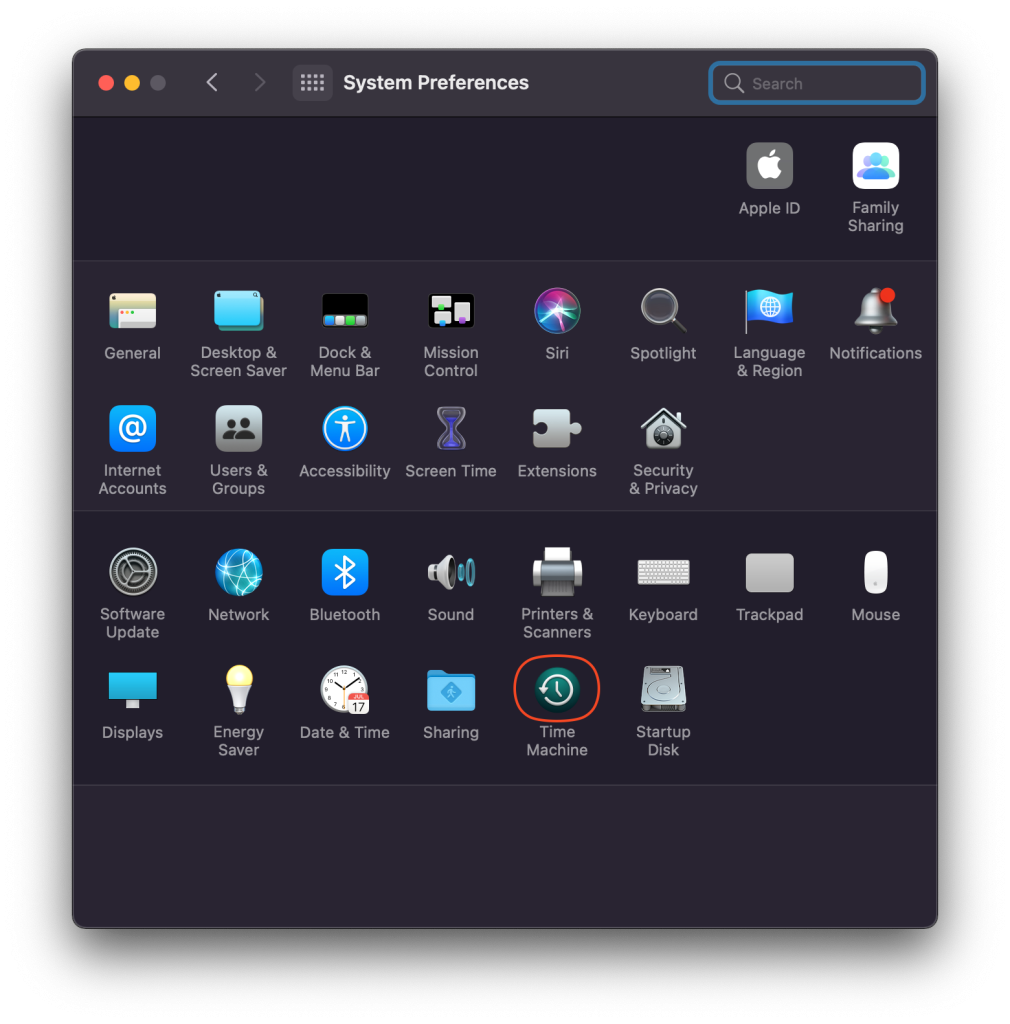
Click on Select Backup Disk and select the External Hard Disk you formatted just now.
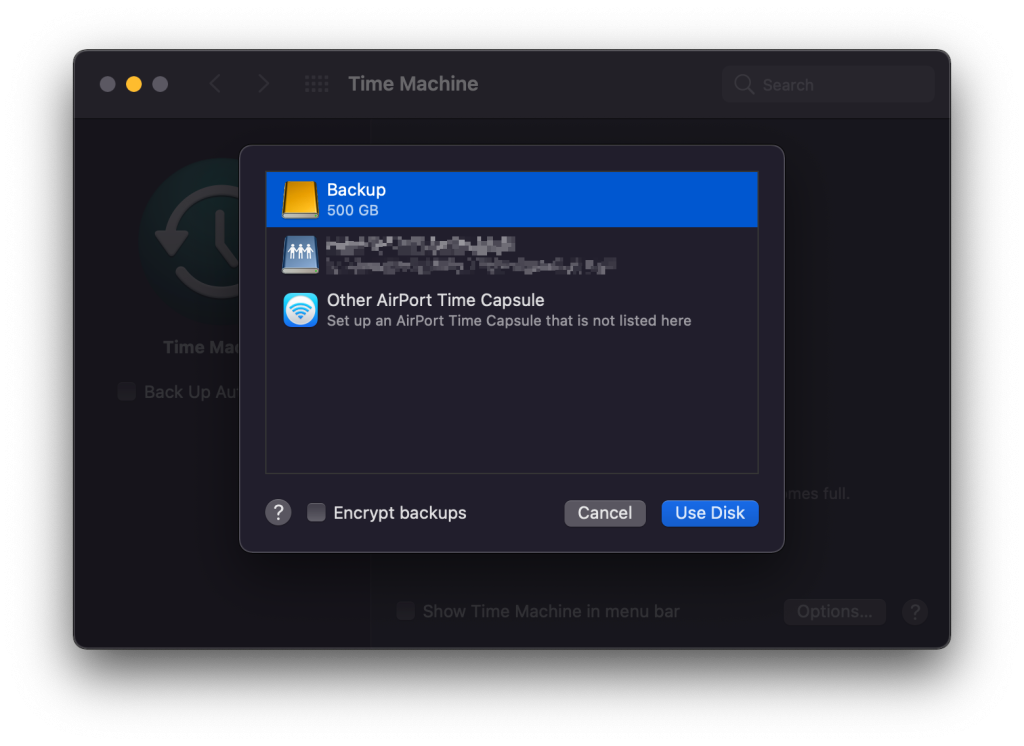
The backup process will begin shortly soon after you’ve selected the hard disk for Time Machine to use.
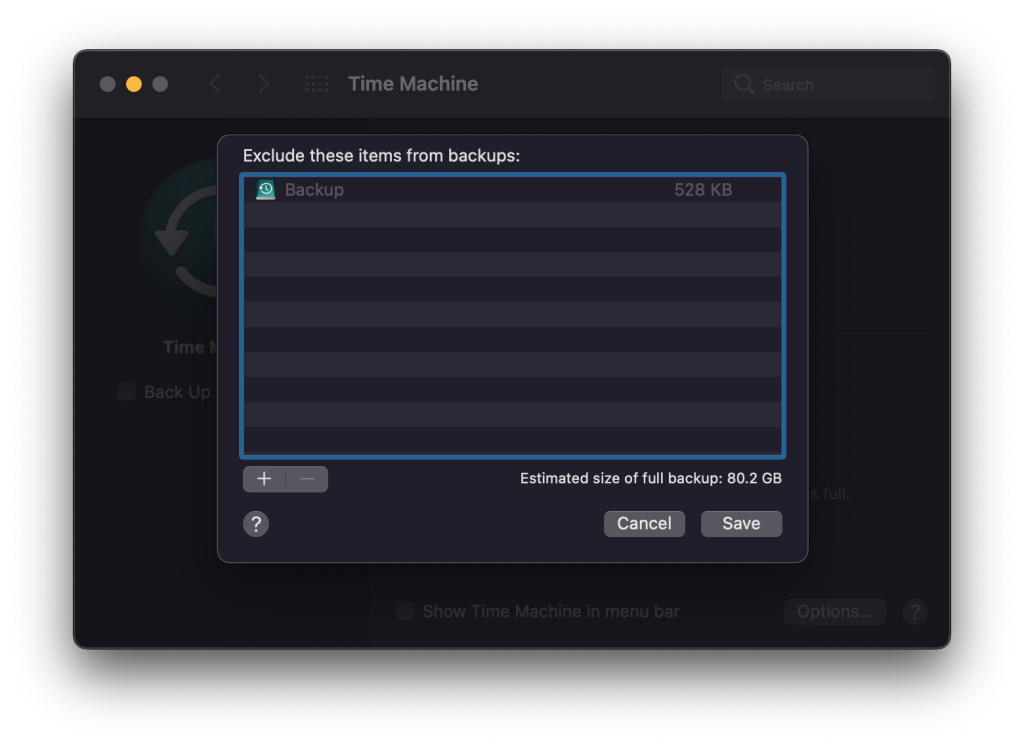
You can click Options button if you want to exclude some files and folders from the backup.
Restore you data using Time Machine
There few simple steps to restore your Mac using Time Machine:
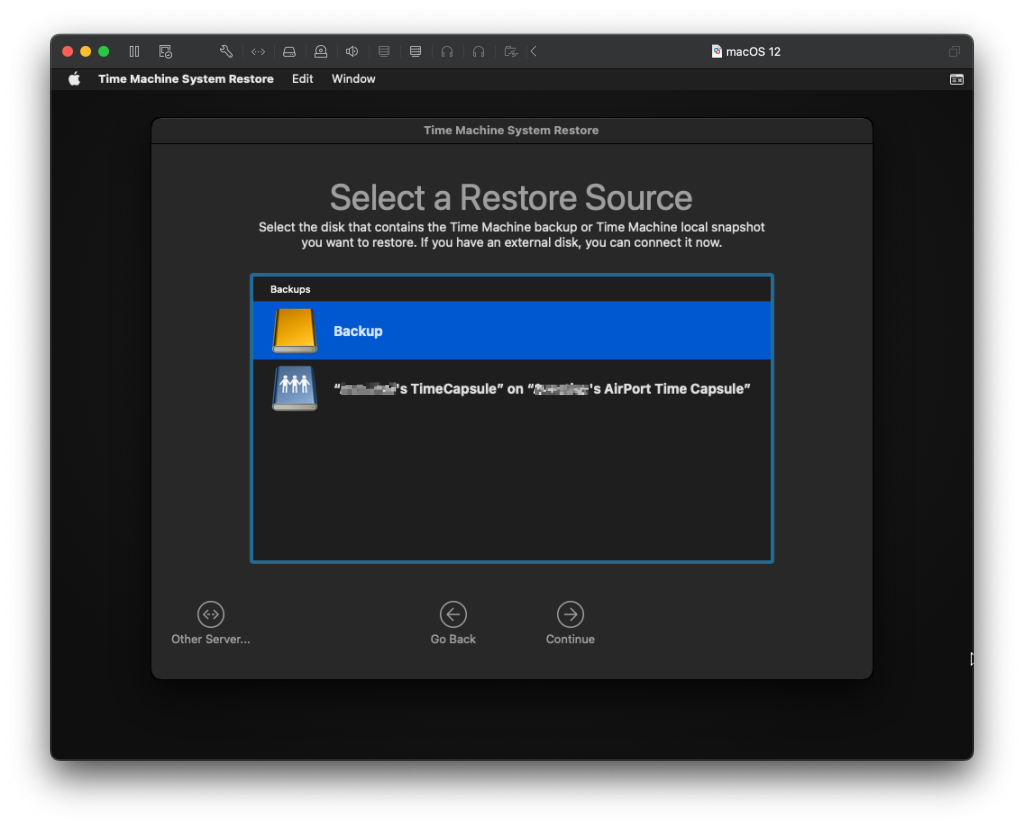
Boot into recovery partition or boot from bootable USB disk and select “Restore from Time Machine”

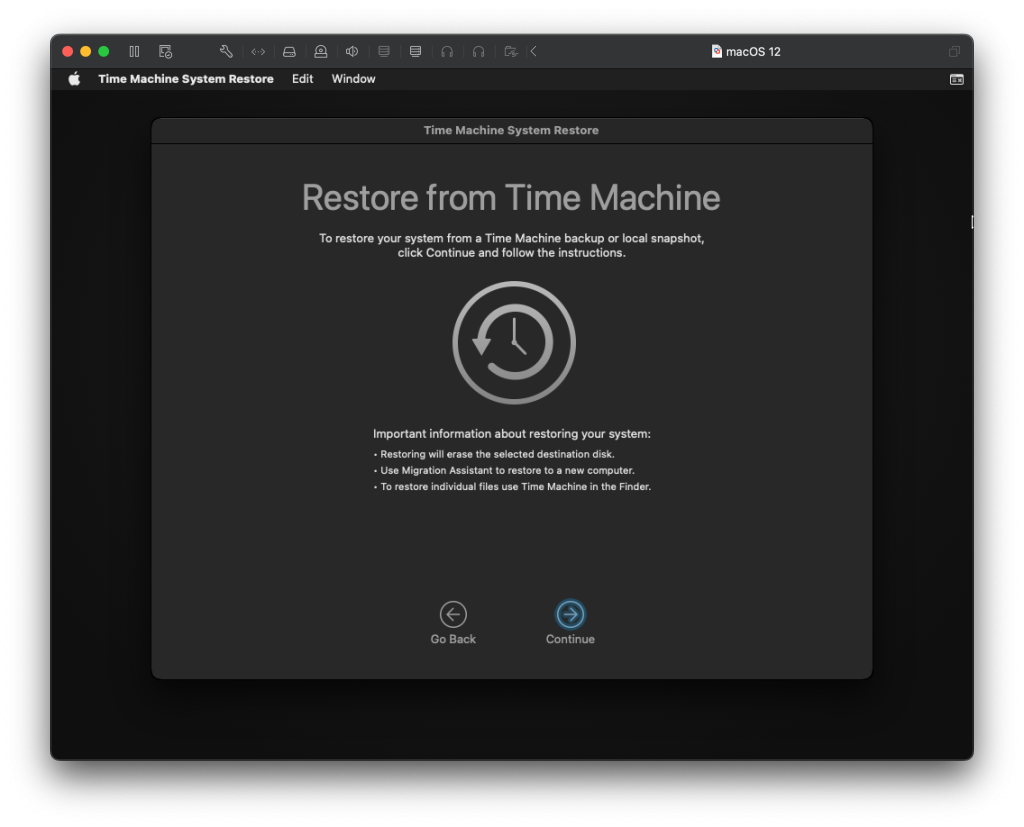
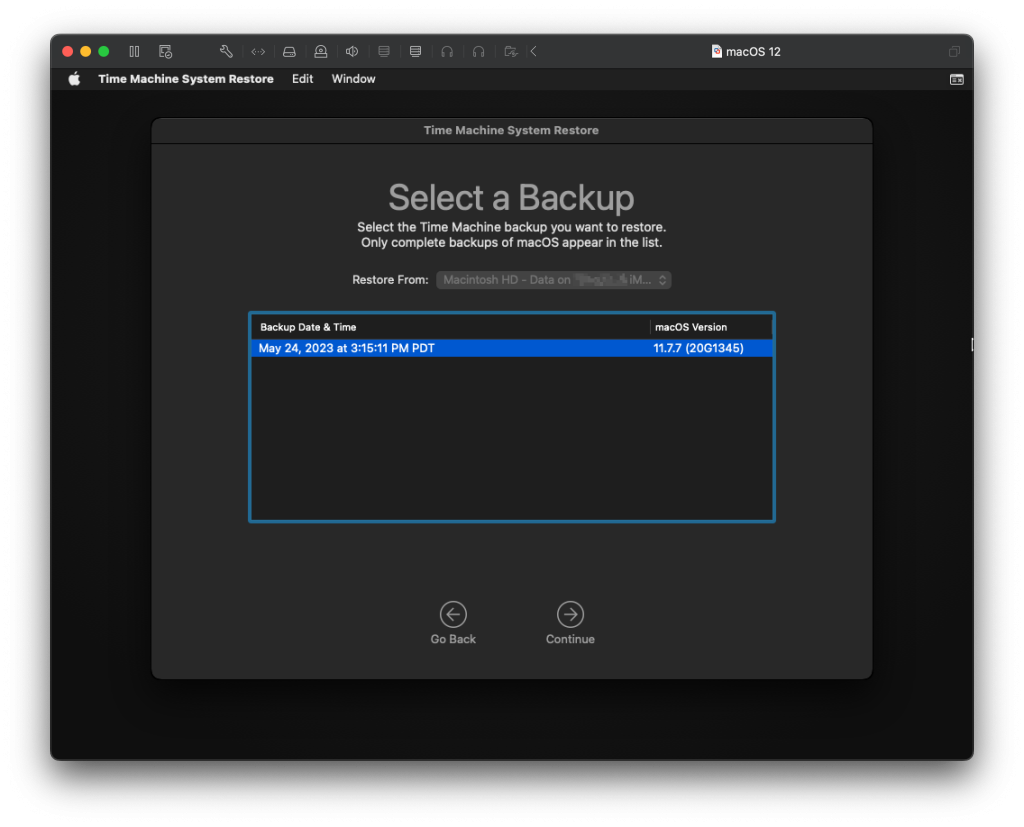
Select the Backup disk and then select the version of the backup you want to restore your Mac to
There is pretty much that’s all to it.
Once the restore process is done your mac will reboot and you will need to adjust the final steps.