Disclaimer:
“Please make sure you have back up of your precious data before attempting to create the USB disk and when you select the destination disk to install Windows on, I don’t take any responsibility for your data loss because I presume that you know what you are doing.”
Important note 1:
- This guide is for those who want to install Windows on a separate disk not to dual boot macOS and Windows on the same disk.
- Before performing the tasks in this guide make sure you have a backup of your files.
- It’s best to have a USB disk with Windows to Go on another USB disk just in case.
I’m not affiliated with Hasleo Software (formerly known as EasyUEFI Development Team) and this article is not sponsored by them or anyone else.
Let’s get started:
As a Hackintosher you might have encountered the issue when you want to install Windows on your system and you already have macOS installed using Clover or OpenCore bootloaders and that’s when you’ll run into the “Windows could not prepare the computer to boot into the next phase of installation. To install windows, restart the installation.”
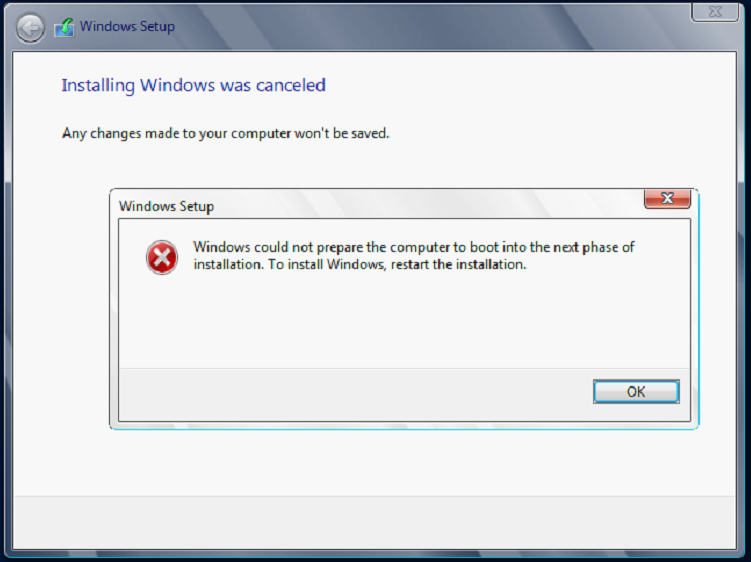
The reason for this error is that macOS uses GUID Partition Table (GPT) which is different than Windows’s GPT format therefore you won’t be able to install Windows if you already have macOS installed even on another disk, there’s also another issue with EFI partition’s size in Apple’s GUID and Microsoft’s GTP scheme.
There are few workarounds to fix this issue but they might be more complicated and not as easy to achieve but what I have recently found is easy enough and it is working pretty well.
Even though the application costs $29.95 they offer a free version of it which is for personal use and has limited options, so if you need to use to for commercial use or if you need to buy a license.
The application is called Win2HDD
In this guide I’m going to show you how to use it and easily install Windows on. You can either use a USB disk or you can use an internal or external hard disk drive.
Requirements:
- Windows installation ISO file.
- USB disk with at least 8 GB or larger. Make sure to backup any files on the USB disk it will be formatted. make sure the USB is formatted as MBR.
- A computer with Windows to create the installer and copy the Microsoft ISO files to the USB disk for installation.
How to use Win2HDD:
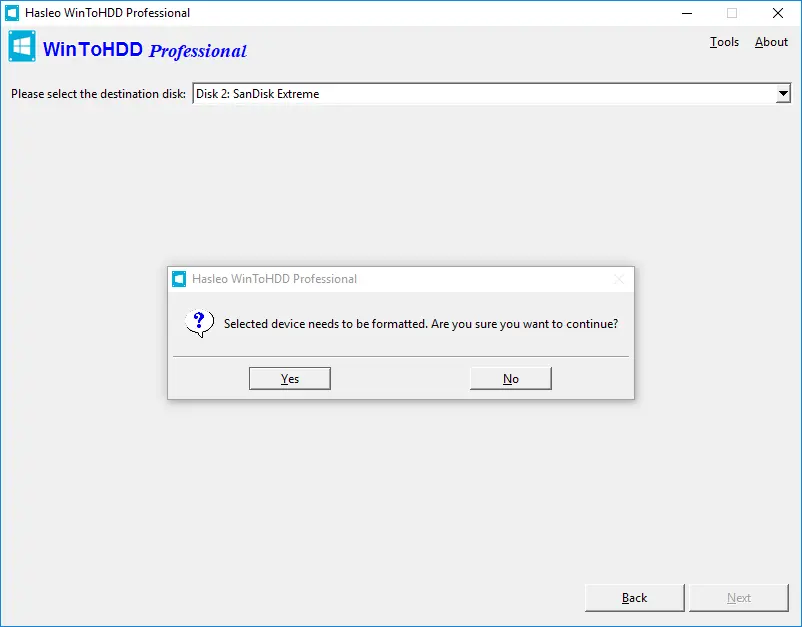
First you need to prepare the USB disk and make it bootable. Run WinToHDD, then click the “Multi-installation USB” button.

Select the USB drive in the drop-down list. If your USB drive is not correctly recognized by WinToHDD, you need to click the button for the program to recognize the USB drive. After you select the USB drive, a pop-up will appear asking you if you want to format it to continue.
Click “Yes”. After clicking “Yes”, WinToHDD begins formatting. Please wait until that format operation is complete.
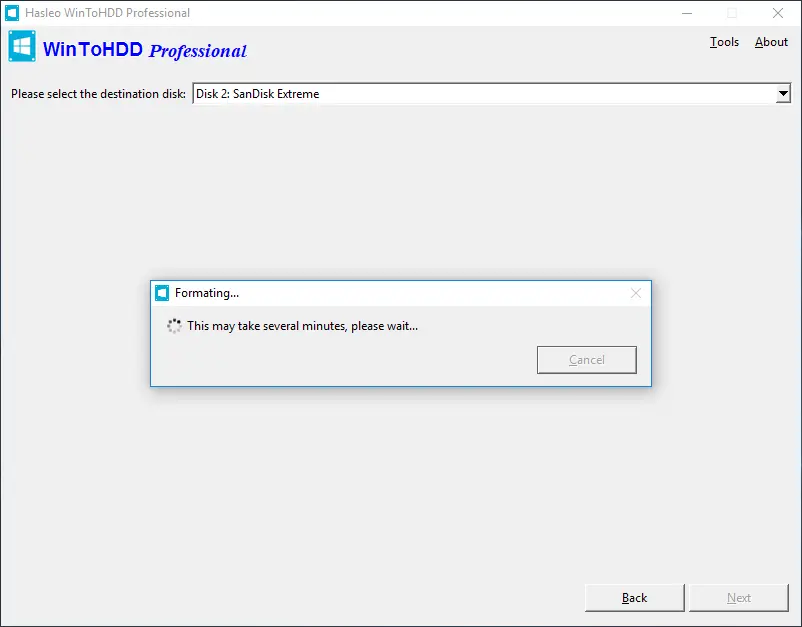
After successfully formatted the USB drive, click “Next”, WinToHDD begins creating the Windows installation USB drive.

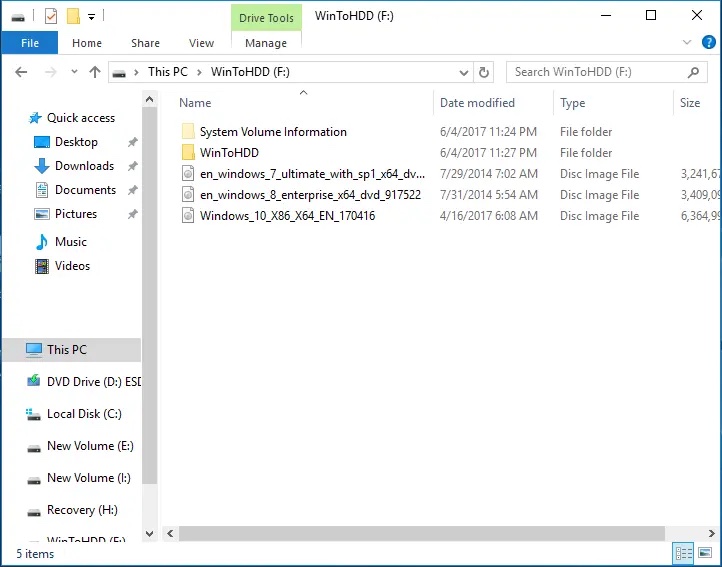
After a while the USB disk will be ready and you can copy the ISO installer image to the USB disk or you can just boot from the USB and locate the ISO installer from your computer.
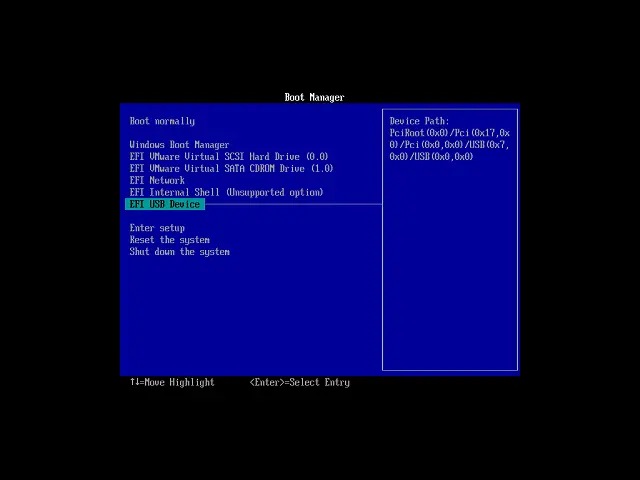
Once the USB is ready reboot your computer and use your UEFI/BIOS boot manager to boot from the uSB disk. (For Asus use F8, for Gigabyte use F12 and for ASRock and MSI use F11)
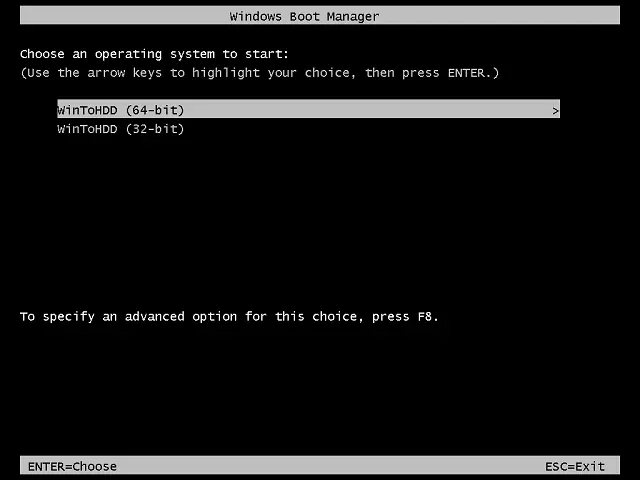
Once the Win2HDD is booted select “New Installation”

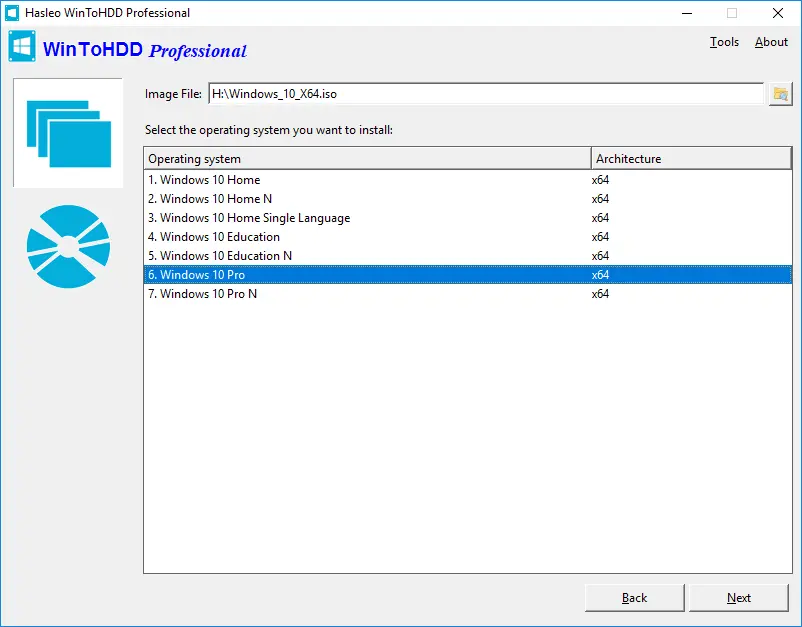
You can select the ISO file that you want to install on your system
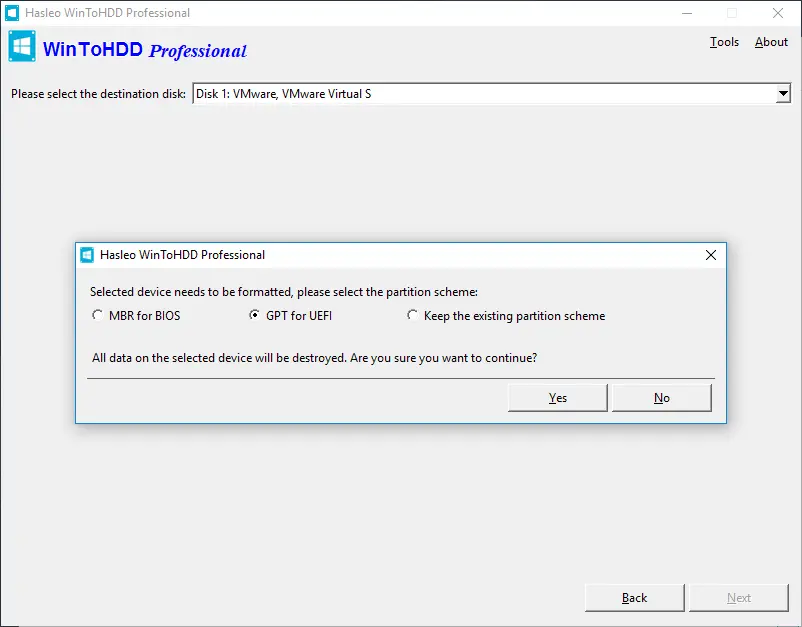
Click next to select the destination disk you want to install Windows on, just make sure you select the correct disk so you won’t lose any data in the process. You can also select the proper format for your hard disk’s boot scheme.
Important Note 2:
- Selecting the MBR for BIOS or GPT for UEFI will format the destination disk and you will lose all the data on that disk so select “Keep the existing partition scheme” if you have data on the disk. So do not use it on to dual boot your system on the same disk.
- Keep the existing partition scheme feature isn’t available in free versions.
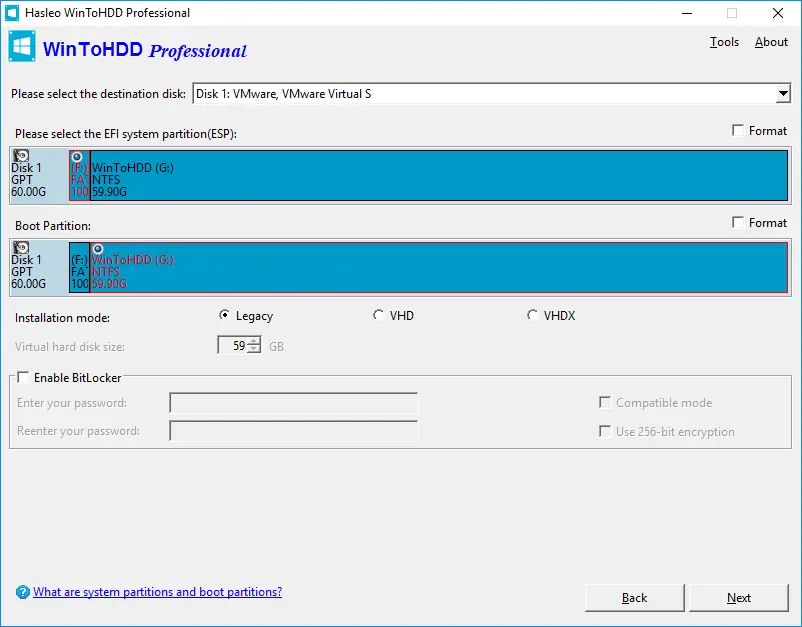
Now select the boot partition and system partition from the partition list selected partitions will be marked as red so make sure to select the correct partitions.
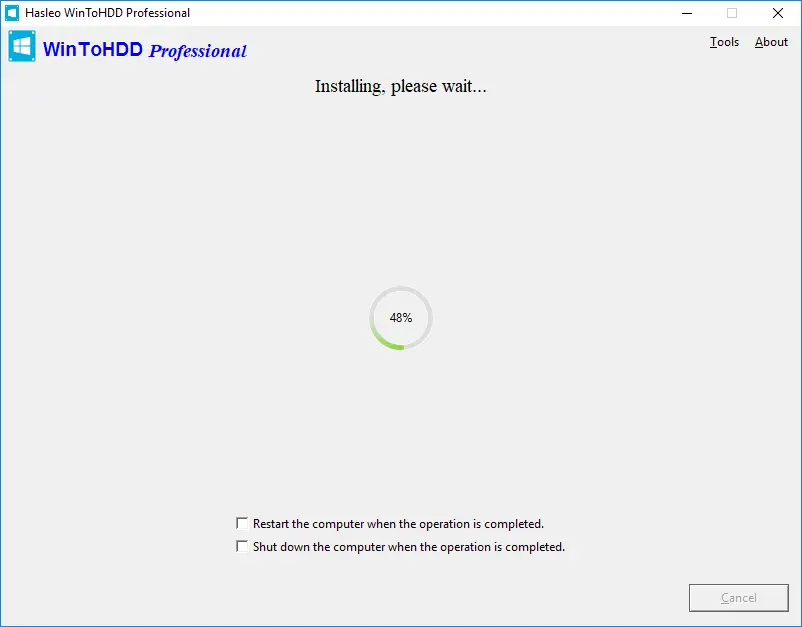
Once the installer files are copied to the destination you can reboot and continue the rest of the installation process.
Prior to this I had to detach all the disks for installing Windows except for the one I wanted to install Windows on and it was a pain in the neck specially when you have multiple M.2 or NVMe disks but now it’s pretty easy and fast.
If you don’t have access to another computer t create the USB disk then the only easier option is to detach all the disks from your computer except for the one you are try installing Windows on.