The OpenCore Legacy Patcher is an amazing tool for installing macOS on unsupported Apple computers and give it a new life which is the result of the hard work of group of smart and dedicated people that made this possible.
Kudos to them!
There are plenty of options to tweak and build OpenCore but if you don’t know what they are and how to configure these settings it’s completely OK.
You don’t have to worry about all of these settings and configurations.
The amazing thing about the OpenCore Legacy Patcher is that you can open the application on your Mac and select “Create macOS installer” and either download the installer you want to use or just select the one you’ve already downloaded and installed in your Applications folder.
OCLP will create the USB installer for you and adds the required files and enables root patching during the installation process and when the process is complete you will have a fully functional Mac.
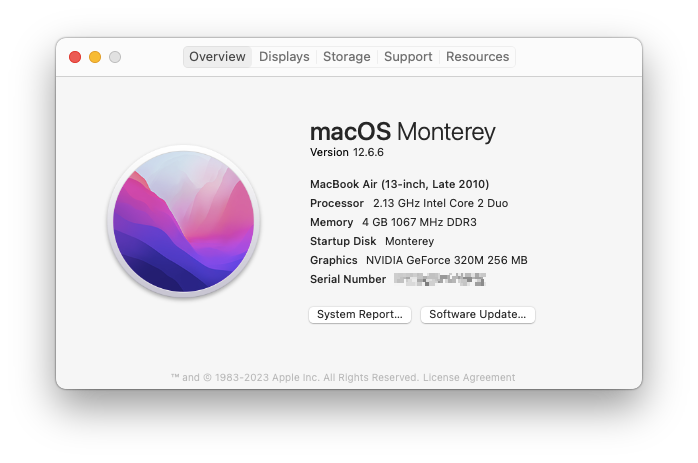
In this guide I will show you how easy it is to use OCLP to install macOS Monterey on a Late 2010 Core2Duo MacBook Air.
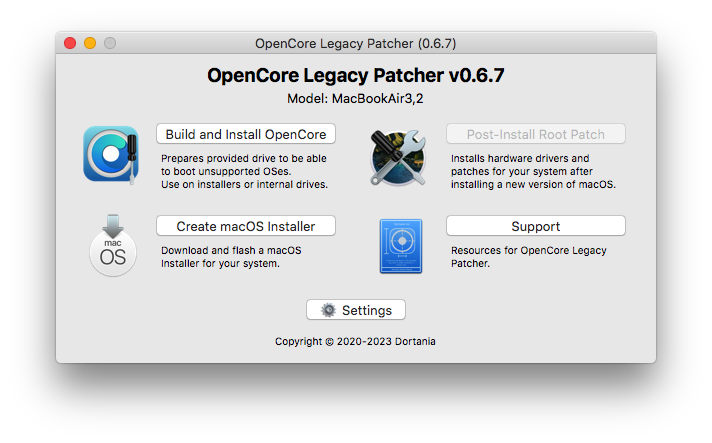
- Open OpenCore Legacy Patcher
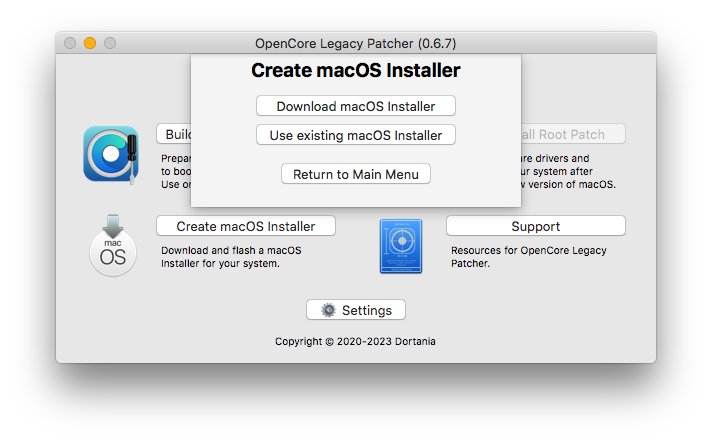
2. Click Create macOS Installer. You can download the most recent macOS installers from Apple servers or if you have already downloaded the installer you want to use all you need to do is to copy it to Applications folder and select “Use existing macOS Installer”
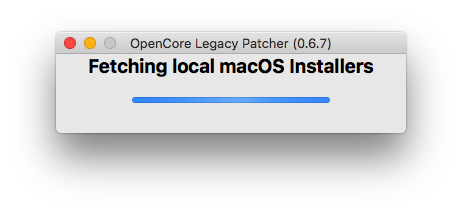
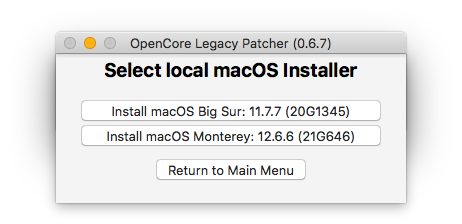
3. Once OCLP scans for the installers in Applications folder you will see a list on available installers.
4. Select the installer you want to use to continue.
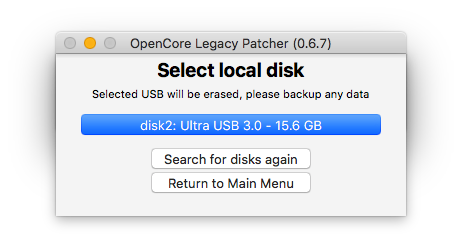
5. Now you need to us a USB disk to create the installer.
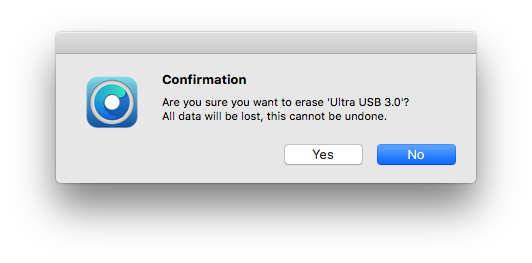
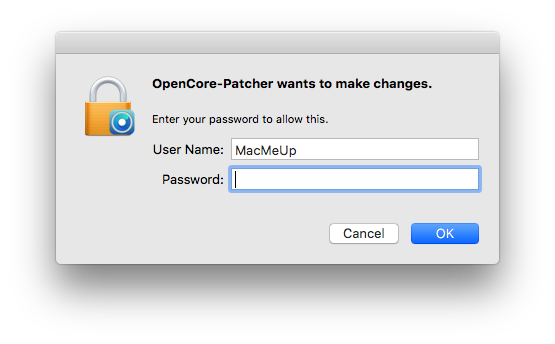
6. You’ll be prompted with a dialog to make sure you’ve selected the right USB disk because it will be formatter and then you will need to enter the system’s administrator password to continue.
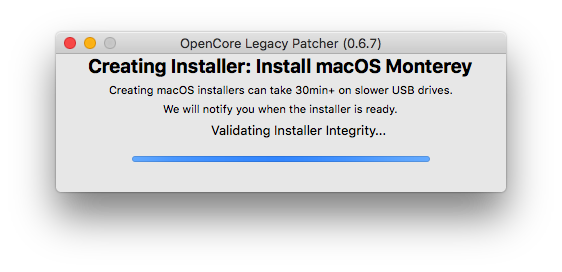
7. The process will start shortly and it might take up to 30 or 40 minutes depending on the speed of the USB port and the USB disk that you are using.
After the installer is created OCLP will check for the installer’s integrity and once that’s done you’ll be prompted to install OpenCore on the disk.
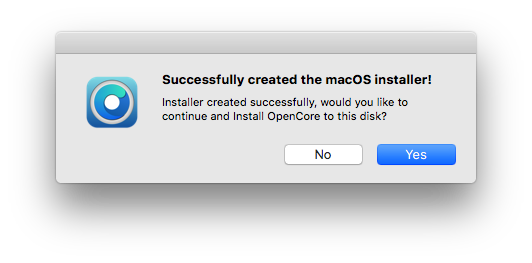
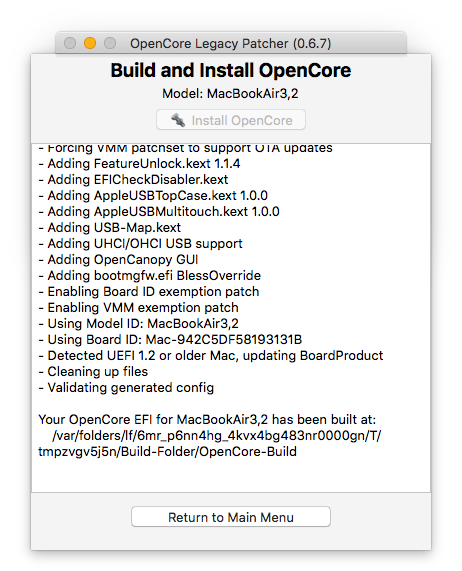
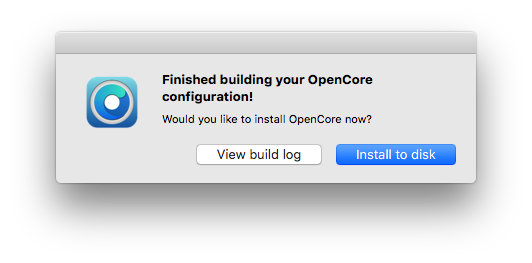
8. Now it’s time to build the OpenCore boot loader for your Mac and install it on the disk you want to boot from. I suggest to use the USB disk for this step so you can boot from it in case you need to erase the internal disk before installing the new macOS.
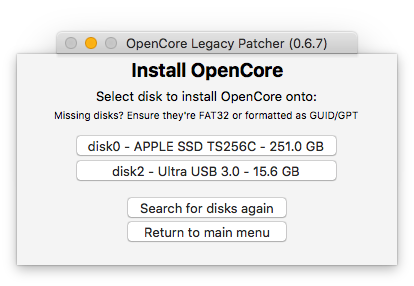
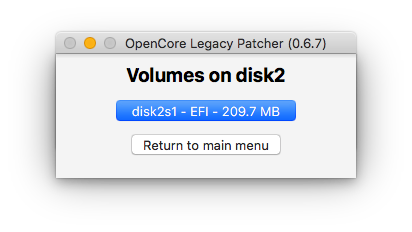

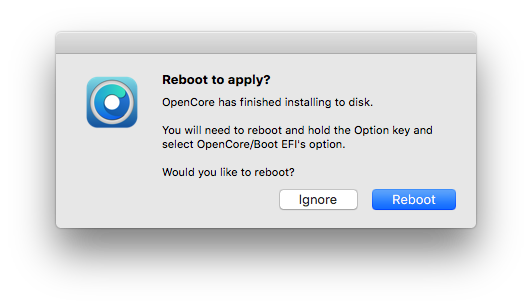
9. Now it’s time to boot your Mac and hold down the option (alt) key to choose the USB disk to boot from. Remember you need to boot from the EFI partition of the disk with OpenCore icon to be able too boot into the installer otherwise you will be prompted with the prohibited sign which means you can’t install macOS on your Mac because it’s unsupported.
Install macOS normally and once the installation is done you will have a fully functional macOS
OpenCore will apply root patching at the last step of the installation process so you might see an extra progress step before you be able to boot into macOS.
10. You can copy the existing OpenCore EFI folder that is already installed on the USB disk or you can use OpenCore Legacy Patcher to create and install the EFI folder and required files on your Mac’s internal disk.
Troubleshooting tips:
1.If your computer froze up on a grey or black screen turn your Mac off, reset the NVRAM/PRAM and then boot the computer while holding down the option key and boot from the USB disk’s EFI partition.
2. If the process seemed to be stopped or stalled at any stage as longs as your keyboard and mouse are responsive let it do whatever it needs to do but if your mouse or keyboard is frozen then you might need to force shutdown your Mac and start over.
In my case the at the first stage of the installation process it got stuck at 13 minutes left for a while but it did continue after a while to the second stage of the installation process and at the end of the second stage of the installation process it stalled for a bit and then it was done.
I’m not so crazy about the performance of macOS Monterey on my Late 2010 MacBook Air because it’s a really old computer but it works.