
With the latest release of macOS versions Apple drops support for older Macs. This usually happens because of the incompatibility of the new versions of macOS and older hardware.
Luckily there are few ways to install newer version of macOS on older hardware.
One of the ways is to use macOS patchers like Doddude’s patchers that can add support for unsupported hardware to the macOS installer. Unfortunately these patcher won’t support newer versions of macOS like Big Sur or Monterey but there is another way to install modern versions of macOS on older macs.
OpenCore Legacy Patcher (OCLP) is a boot loader that will help you to install macOS on almost any unsupported Mac.
What is OpenCore?
OpenCore is a sophisticated boot loader used to inject and patch data in memory, instead of on disk. This means that we’re able to achieve a near-native experience on many unsupported Macs.
How to use it:
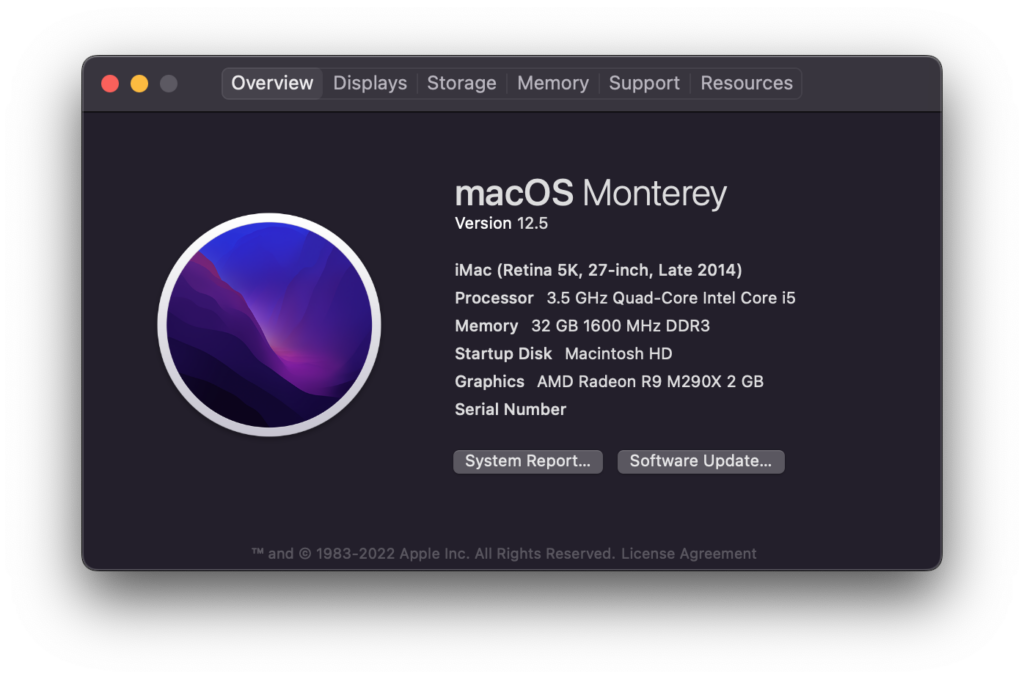
For instance I wanted to install macOS Monterey on a Late 2014 27″ iMac which isn’t supported officially by Apple. So let’s start by doing a step by step guide.
I assume you already have your Monterey USB Install disk ready but of not you can follow this guide on “How to create a USB Installer for macOS” or you can you OpenCore Legacy Patcher to download macOS and create the USB installer.
1. First of all download the OpenCore Legacy Patcher from the links above and open the downloaded application.

2. Click Settings and select the closest matching SMBIOS to your Mac, if you don’t know what these settings are you can see my Mac’s information is shown as “Model: iMac15,1” and closest supported device is iMac17,1 which belongs to a 2015 iMac that is supported by macOS Monterey.
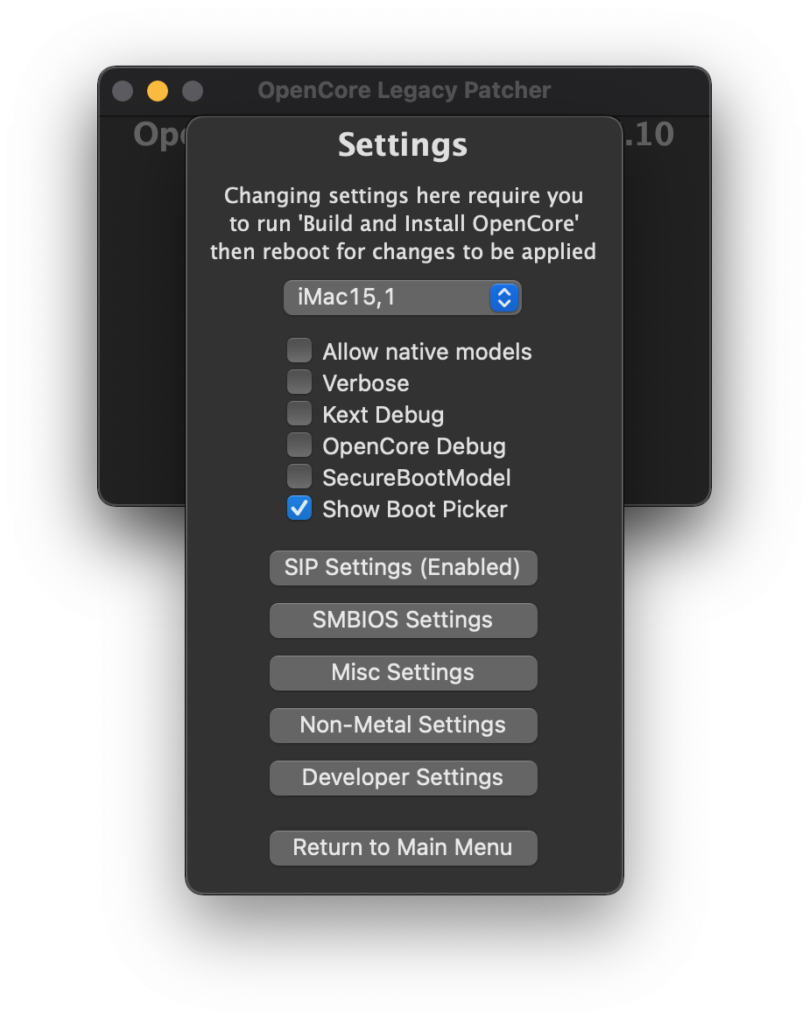
3. lick on “Settings” button you will be prompted by a new window that contains several options. Select “SMBIOS Settings” and select the SMBIOS Spoof Level and set it to “Minimal” then select SMBIOS Spoof Model to the SMBIOS you want to use. You will be prompted by a warning windows so click “Yes”
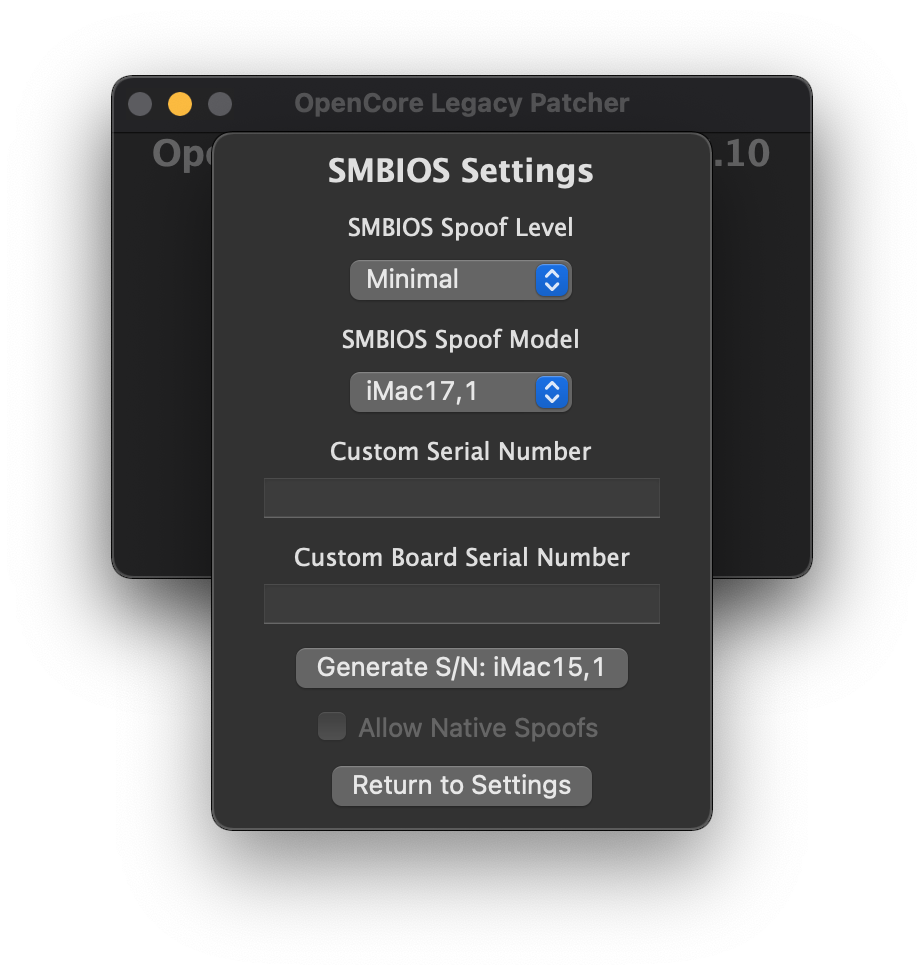
4. Now click “Return to Settings Button” and then click “Return to Main Menu”
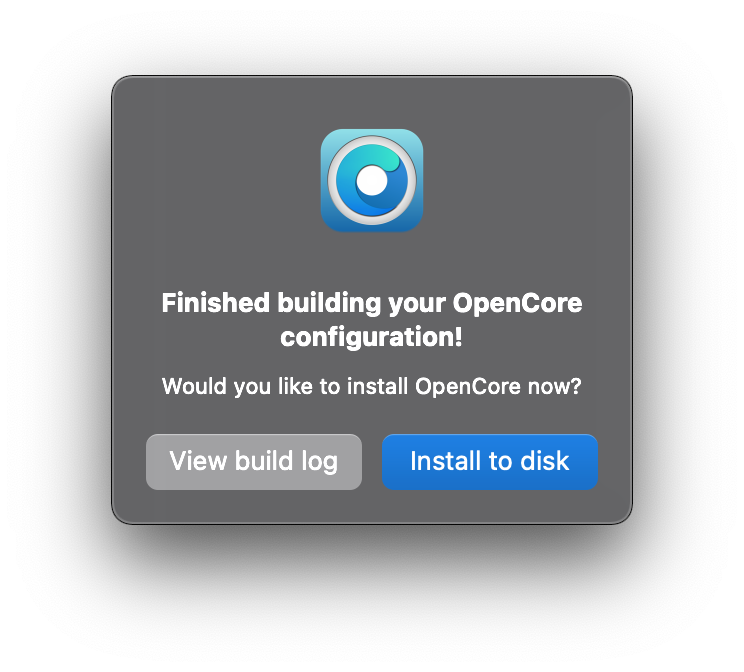
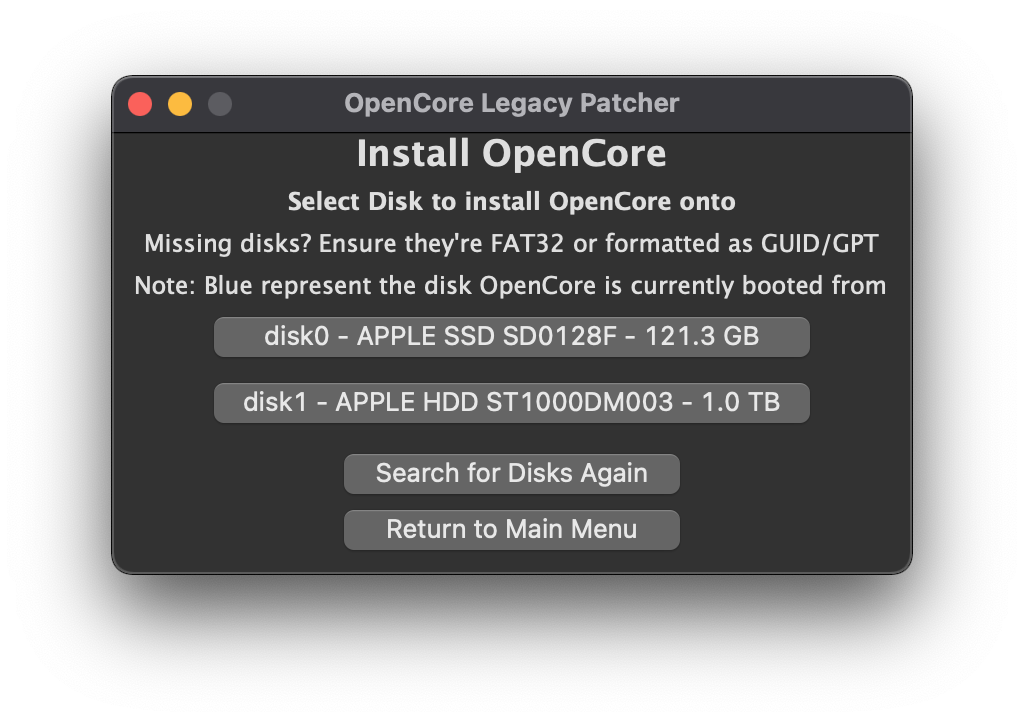
5. Select “Build and Install OpenCore” once it’s done you will be prompted with the option to install OpenCore boot loader on a disk drive and make sure that you select the correct destination disk to install the boot loader (in my case it is the internal FusionDrive which has two disks) but you can chose the USB disk drive for the installer if you want.
Note: disk0 is the SSD part of the FusionDrive and disk1 is the conventional hard disk.
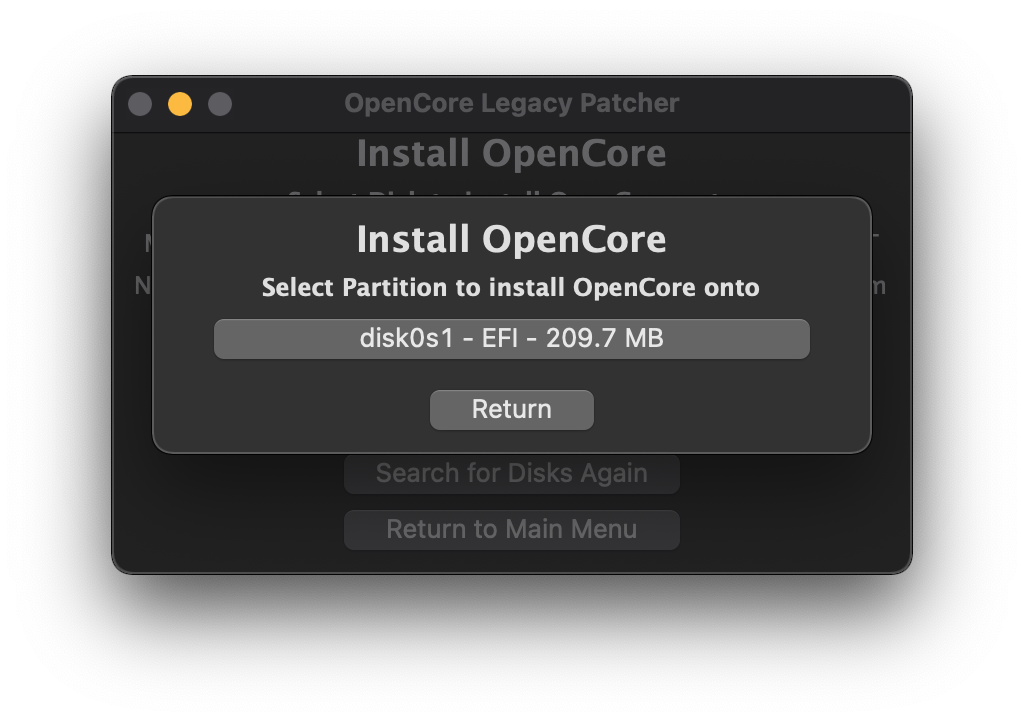
6. Once you’ve selected the disk you will be prompted to mount the EFI partition of that disk because for OpenCore to work it needs to be installed in the root of the EFI partition of the computer’s startup (boot) disk.
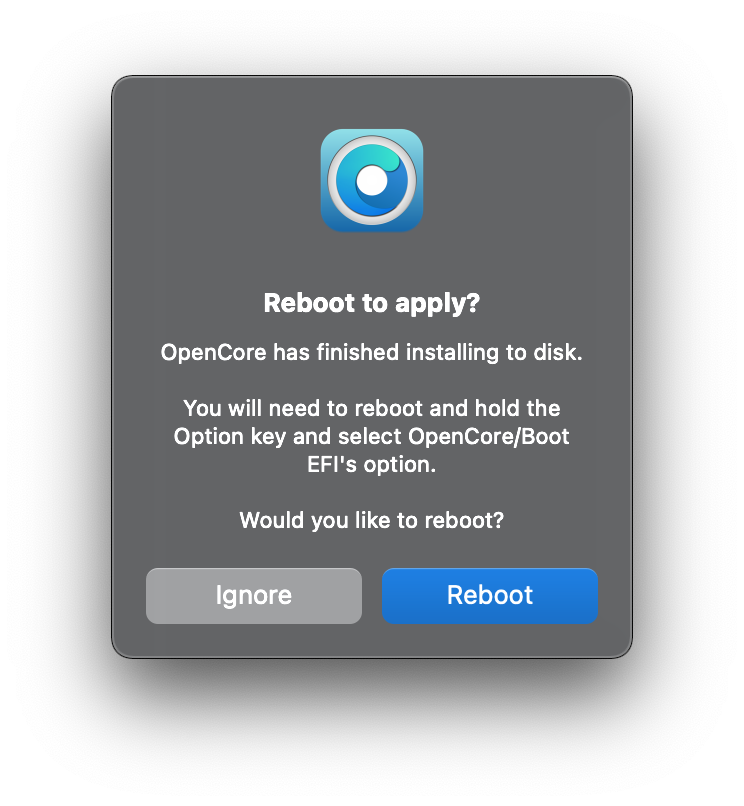
7. As the installation completes you will be prompted to either reboot the computer or just ignore the reboot and it will take you back to the application.
8. Now you can boot your computer using the OpenCore boot loader and use the installer disk to start the installation process.