Here’s how to build OpenCore Legacy Patcher for installing macOS Ventura on unsupported Macs.
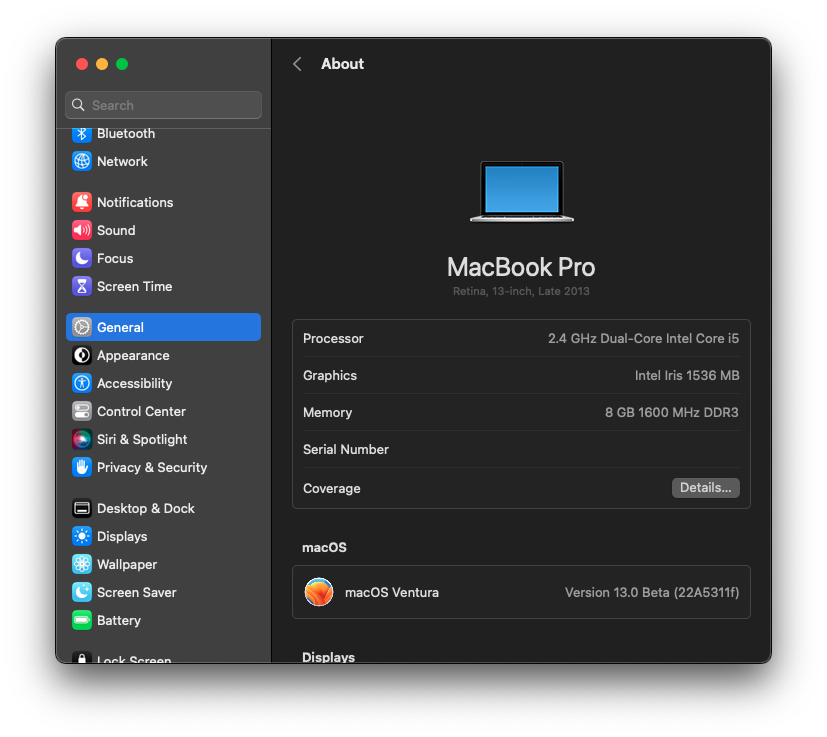
In this guide I will explain how to build OpenCore Legacy Patcher 0.5.0 Alpha and install macOS Ventura on a Late 2013 13” MacBook Pro which isn’t supported by macOS Ventura natively.
The OpenCore Legacy Patcher 0.5.0 is still being developed and it hasn’t been released yet but you can get your hands on the alpha release and build the application yourself.
There are few things that you need to take care of before being able to use OCLP first:
- Download the OCLP package from https://github.com/dortania/OpenCore-Legacy-Patcher/tree/ventura-alpha
- Download and install Pyton: https://www.python.org/ftp/python/3.10.7/python-3.10.7-macos11.pkg
- Once you’ve installed Pytone your going to need to install the following libraries
- requests
- pyobjc
- wxpython
- pyinstaller
- packaging
To install requests use the following command in terminal:
pip3 install requests
To install pyobjc use the following command:
pip3 install -U pyobjc
or
pip3 install -U 'pyobjc[allbindings]'
To install wxpython use the following command:
pip3 install -U wxPython
To install the pyinstaller use the following command:
pip3 install pyinstaller
and you also might need to run the following command:
pip3 install --upgrade pyinstaller
To install packaging use the following command:
pip3 install packaging
If you received any errors regarding any of the required components you might need to to run the corresponding commands again.
4. Once you’ve installed all the requirements you can now run the “Build-Binary.command” from the OpenCore Legacy Patcher folder which will start to build the OCLP 0.5.0 for macOS Ventura.
5. You’re also going to need to install Xcode Command line tools which you will be prompted to do so if you already don’t have Xcode installed on your system. You can install the Xcode command line tools manually by typing the following command in terminal:
xcode-select --install
Once you run the “Build-Binary.command” it will start to download the necessary files and binaries and after a while you’ll have the GUI and TUI versions of the OCLP.
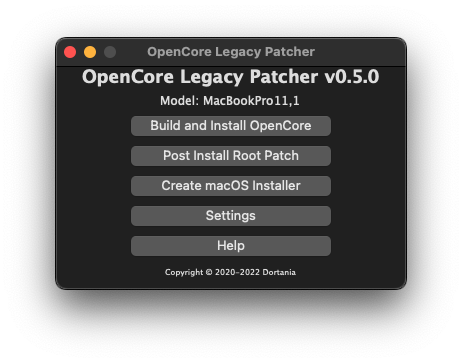
The installer package will be located inside the OpenCore Legacy Patcher -> Build -> OpenCore-Patcher-GUI which you can use it to run the OCLP GUI to install the OpenCore boot loader and then patch the required files to have full functionality.
Once you run the OpenCore-Patcher-GUI.command you’ll be prompted to build and install OpenCore boot loader.
Follow the instructions and the steps as explained here:
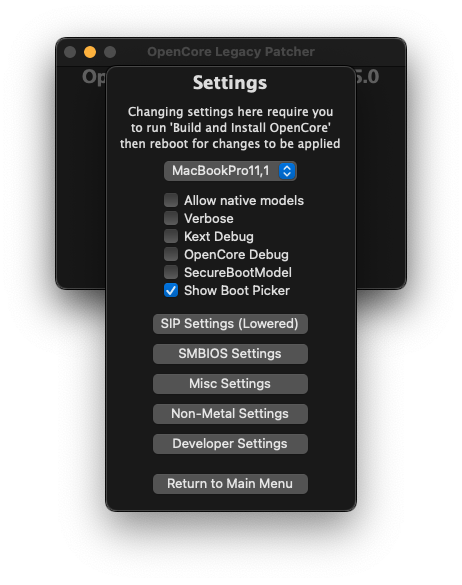
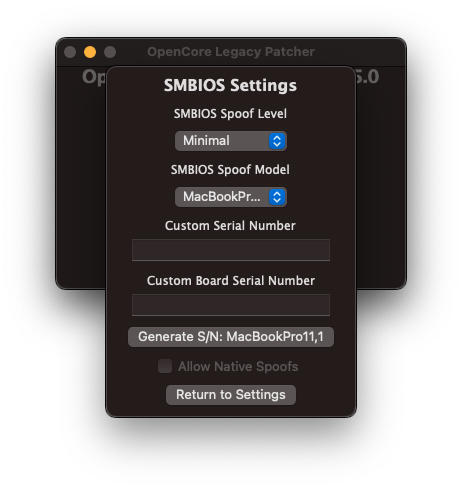
Select the SMBIOS Settings and then select the SMBIOS Spoof Level and set it to Minimal.
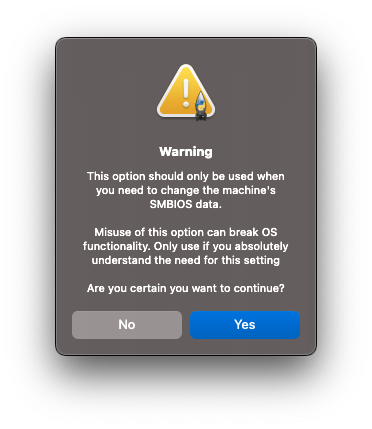
You will be Prompted with a warning and select “Yes”
Select the closest SMBIOS to your Mac by clicking the SMBIOS Spoof Model:
I chose the MacBookPro14,1 SMBIOS
Return to settings and then the Main Menu and click the “Build and Install OpenCore”
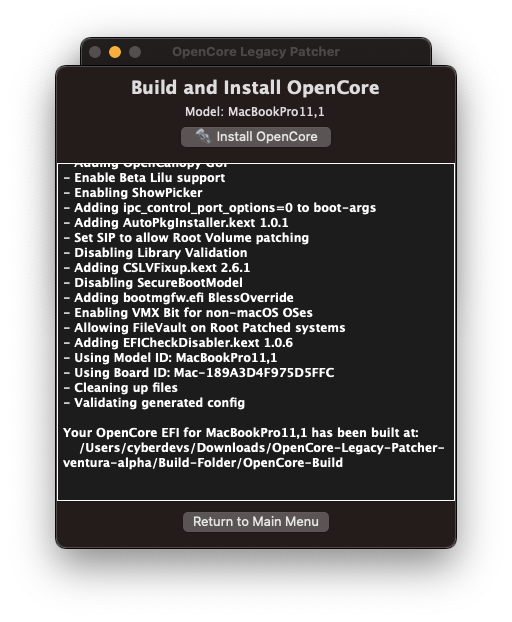
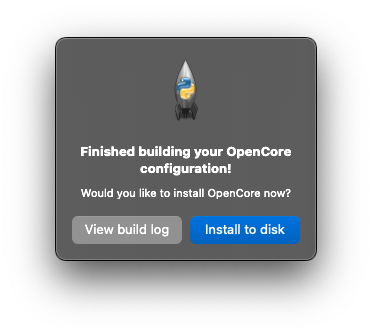
Once it done you will be prompted to install OpenCore to your hard disk and then reboot your Mac.
You can use the installer USB for macOS Ventura or any other disks to install the boot loader and install macOS Ventura on your unsupported Mac.
Once the Build and Installation step is done you’ll be prompted to reboot your Mac. Once the Mac is rebooted run the OpenCore-Patcher-GUI.command and then select the Post Install Root Patch and OCLP will download the required binaries for your Mac and install them.

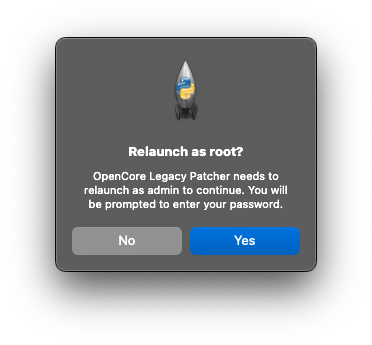
Click the “Start Root Patching” button and when you’re asked to run the OCLP as root click “Yes”. The GUI will quit and relaunch and asks you for administrator’s password to be able to install the necessary files.
The installation might take a while since it will download the required files and kexts for your Mac so be patient. Once it’s done you might need to give access to the kexts in System Preferences to be able to run.
Reboot your Mac and enjoy the macOS Ventura on your unsupported Mac.
Just remember that you’re going to Root Patching step after each macOS update.